


Wall Decor Mockup Tutorial
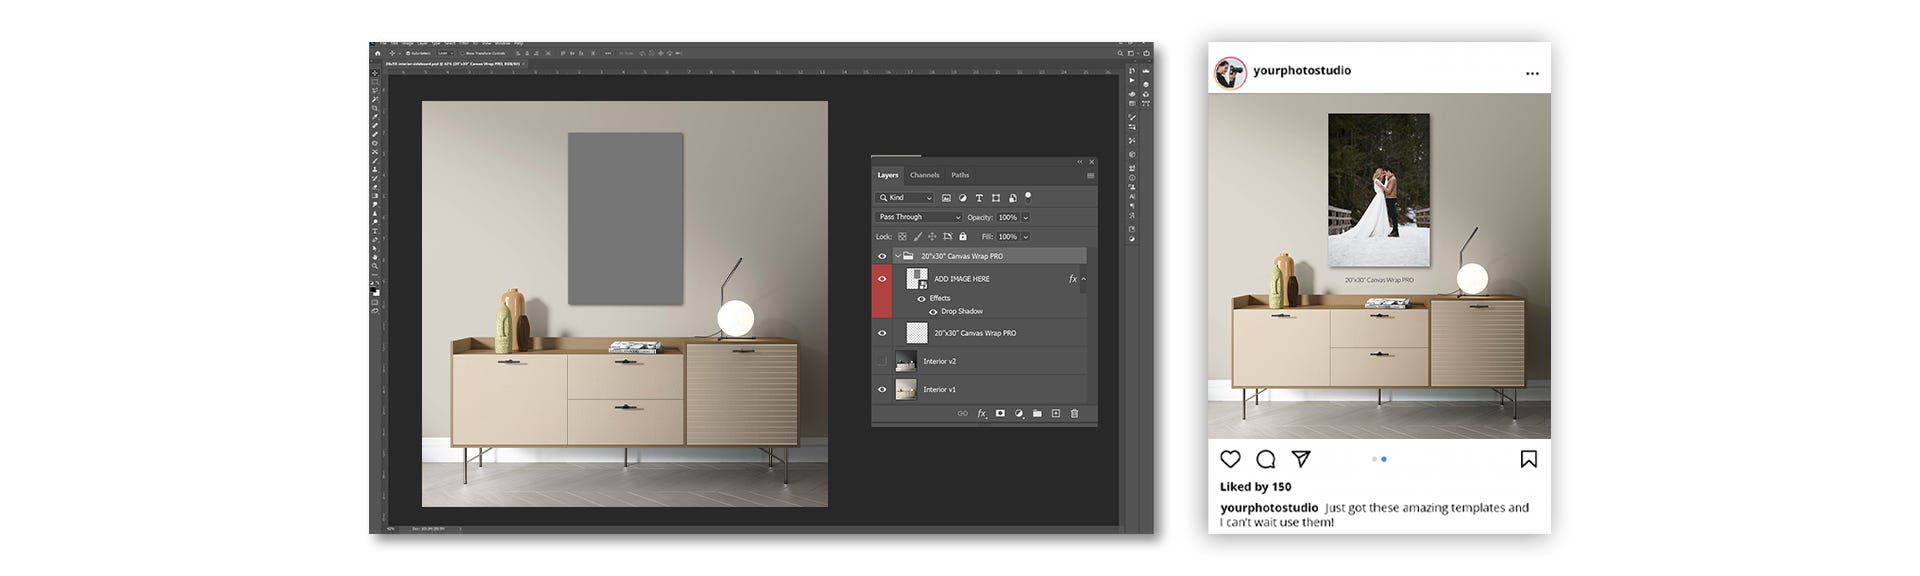
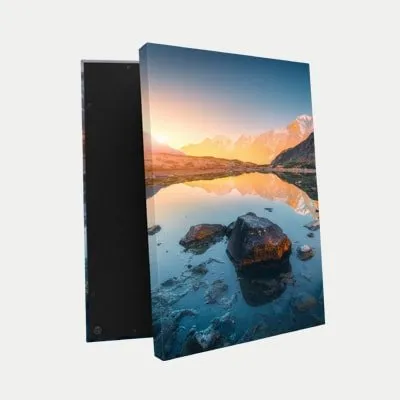
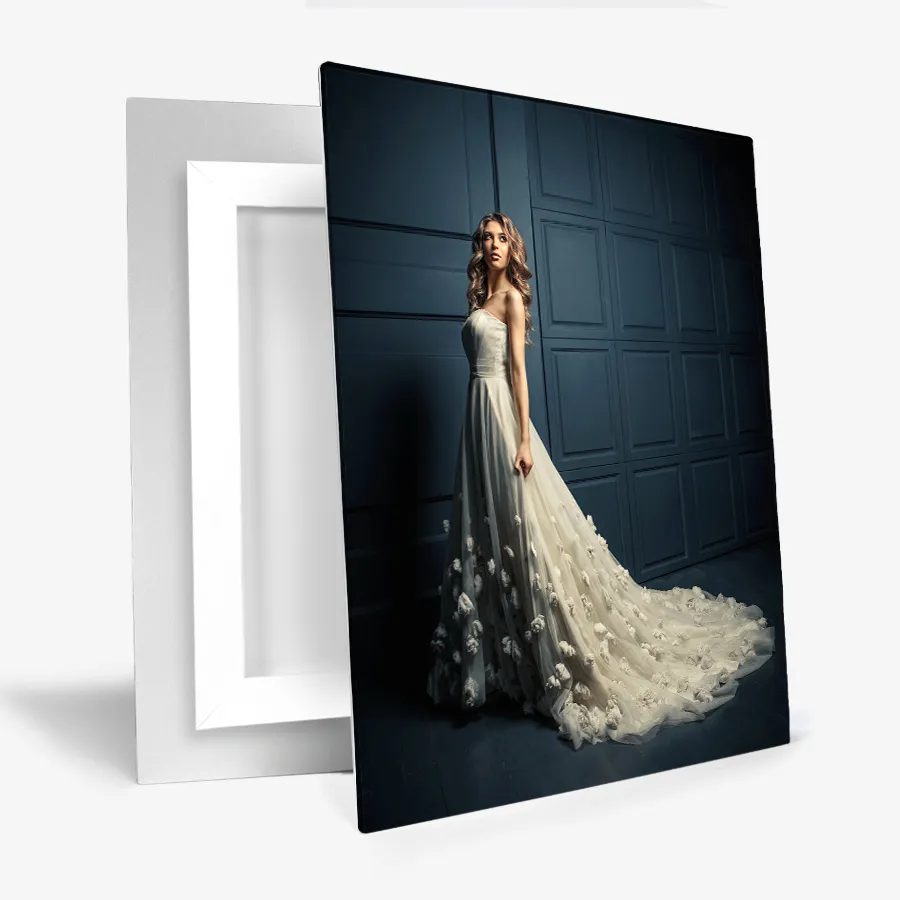
Wall décor and print mockups are a must to showcase your work on social media, in emails, or in-person sales. Creating mockups can be simple, quick, and easy by using our free set of photoshop templates. Go to our template page and scroll down. You can see we have a variety of different furniture options, and print types or sizes. For example, these are acrylic, we have metal and of course canvas wraps. Let’s start by picking your favorite. As an example, we will start by downloading the Onyx template. Open the file in Photoshop and go to the layers panel. If you don’t have your layers panel, don’t worry. Go to window and select layers. This turns layers on or off. Over here in the layers panel, you'll see an “add image layer”. Double-click on it to add your image. It will open a new window, here you can add your image. To place your image, you'll go up here to “file” and then place embedded. You can select the image that you would like to showcase to your client. Once this image is selected, you’ll want to hit enter because that will embed your file. You want to make sure that you save this file. Once that file is done saving, you can exit out of this window. Now you can see that it's beautifully populated on this next page. You're now ready to show your client exactly what your image will look like in a home, and the size in comparison to furniture. If you would like to upload this onto any social media platform, you want to use a JPEG with maximum quality size. If you want it to be full resolution, click “OK”. Now your image is ready to use on any of your social media platforms. Mockups are always a great way to showcase wall décor. Also, a beautiful way to reveal your images to clients and help them visualize them in full-size. Thank you for watching! We will be adding more free templates, so remember to subscribe to our email and check in regularly.
Photoshop Templates>