


A Beginner's Guide to Waterfall Photography

When attempting to tackle a new style of photography, it can be hard to determine how and where to start. What new equipment do you need? What camera settings are best for this type of photography? What trusted sources can provide more information? Before you completely dive in, it can be helpful to read some best practice tips for succeeding in this new style. Luckily, seasoned landscape and travel photographer Michael Ince is excited to share some tips for those interested in giving waterfall photography a try. Read on to learn more about Mike's advice on camera settings, suggested equipment, ideal weather, and every aspect in between.
 Finally, if you do not use the timer built into your camera, I’d recommend purchasing a remote timer or a cable release. I usually set my time to 2 or 5 seconds so the camera has a chance to regain balance caused by letting go of the tripod. Every bit of a solid focus counts!
A Beginner's Guide to Waterfall Photography
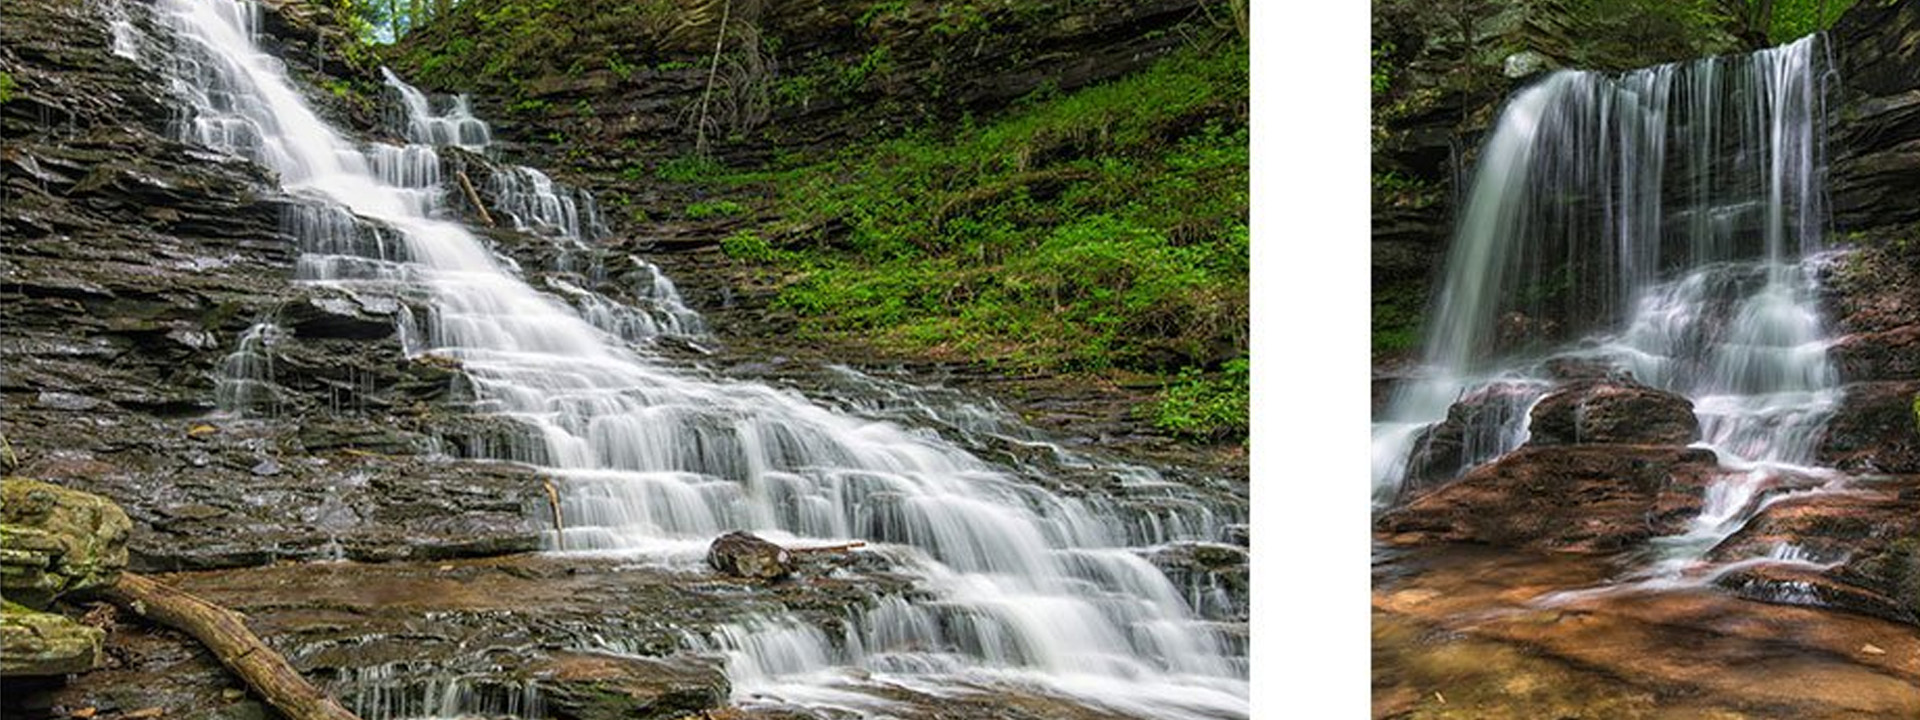
I’m here to discuss a variety of tips, tricks, and advice for capturing those mystical waterfall shots. It’s worth mentioning that the photos shared in this blog post are from my trip last summer to Rickett’s Glen, Pennsylvania. This place is an absolute paradise for photographers. There are over 20 named waterfalls and miles of hiking through epic, movie-like scenes. If you find yourself in the area, I’d recommend checking it out! Let’s dive right in and answer some frequently asked questions that often come up when experimenting with waterfall photography.What camera settings should I use?
Camera settings all depend on your preferences, tastes, weather, time of day, filters, etc. But, I can discuss some reasonable starting points. Camera Mode - I personally like to shoot waterfalls in manual mode. This allows me to have full control of my camera and fine tune my settings to get the perfect exposure for that silky water movement. Even if you are not a fan of the “silky water” look, you can simply dial back your shutter speed to lessen the effect. Also note that a case can be made for shooting in shutter or aperture priority, but shooting in manual mode can help you get to know your camera and provide more precise tuning of your photo capture. Shutter Speed - You will start to see the water movement within your photo at about 0.5 of a second. At the 2-3 second mark you should still be retaining the definition and shape of the waterfalls. Starting with a setting in between those shutter speeds will suffice. I determine these settings loosely because every situation truly is different. Finding the shutter speed that is right for your scene will take some experimenting. Aperture - Starting with a small aperture will be helpful when trying to capture the waterfall and other natural elements within the scene (rocks, plants, etc.). I like starting around f/11 because this is a safe, middle point on my lens. At this setting, I have the flexibility to open or close my lens a few notches in either direction. This ensures I can dial in to my exact tastes and have more options doing so. I know I can shoot my scene at f/8 or easily move up to f/16, if needed. Keep in mind, if you are looking for a more intimate shot close to the falls, then you may need to use a lower aperture. If you are a good distance away from a towering waterfall, then a higher, more closed aperture is appropriate. ISO - Keep it low! I’d recommend around 100. Especially if you are shooting long exposures as this setting will provide the highest possible image quality as an end result. White Balance – In my opinion, it’s safe to keep your white balance settings on auto. These days, it’s so convenient to adjust the white balance in post processing if your auto setting doesn't do the job. Now that I have some good guidelines for camera settings, do I need any other equipment? Yes! You absolutely need a tripod. It’s nearly impossible to hold your camera tack still without one. A tripod will ensure the sharpest possible image. Another piece of equipment to consider is a polarizing filter. This filter increases color saturation and helps suppress reflections off of the water. Using this filter can help darken skies for a deeper blue and make the surrounding vegetation pop with rich greens. For the rest of the scene, a polarizing filter can increase detail by removing scattered light. If you haven't tried one of these filters yet, know that they can be pricey, but you can buy a discount version to determine whether or not you like working with them. Even the discount filters can yield good results and help you decide whether or not to spend the money on some nicer glass. If you choose to invest, note that it is important to keep your polarizing filter very clean at all times when shooting. Especially near a waterfall, where it’s easy to catch some spray and mist that will show up on your images.
Finally, if you do not use the timer built into your camera, I’d recommend purchasing a remote timer or a cable release. I usually set my time to 2 or 5 seconds so the camera has a chance to regain balance caused by letting go of the tripod. Every bit of a solid focus counts!